
This Salad Uses Crispy Air-Fried Tortellini Instead of Croutons — And It’s Better
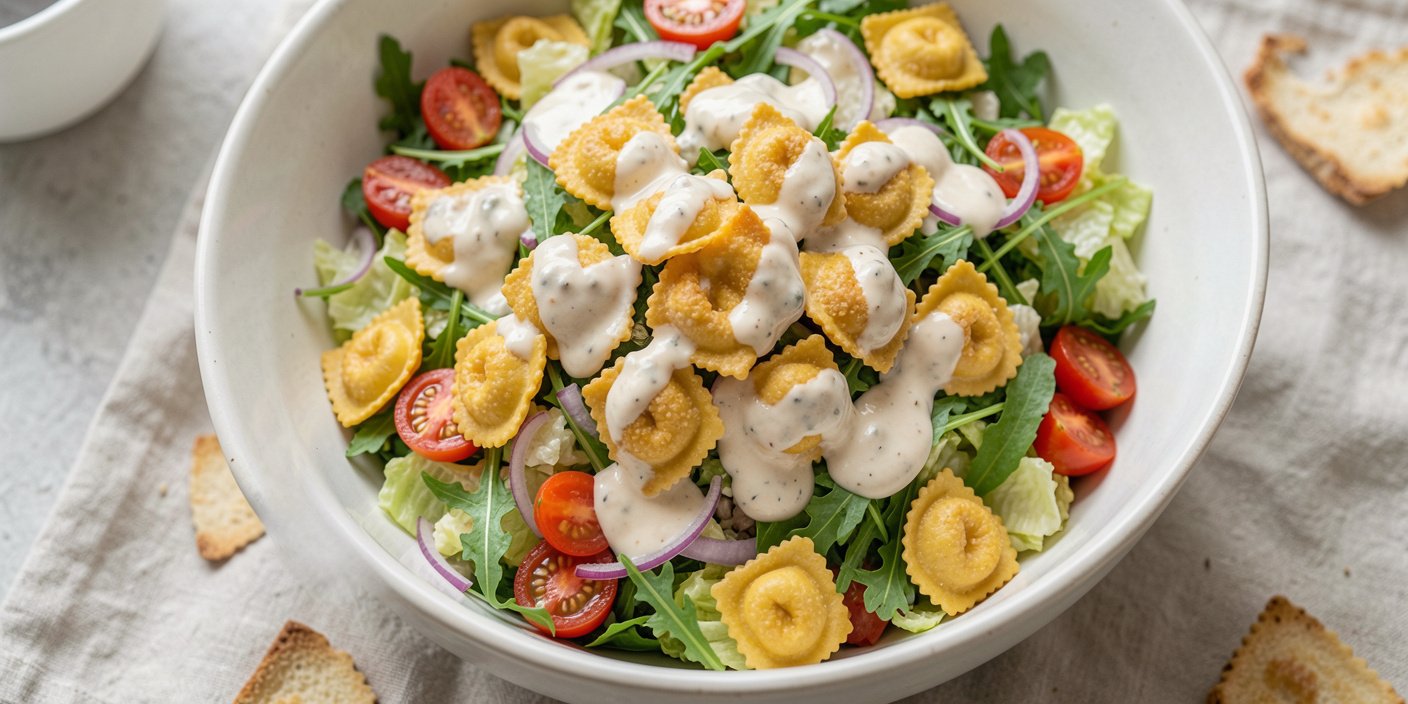
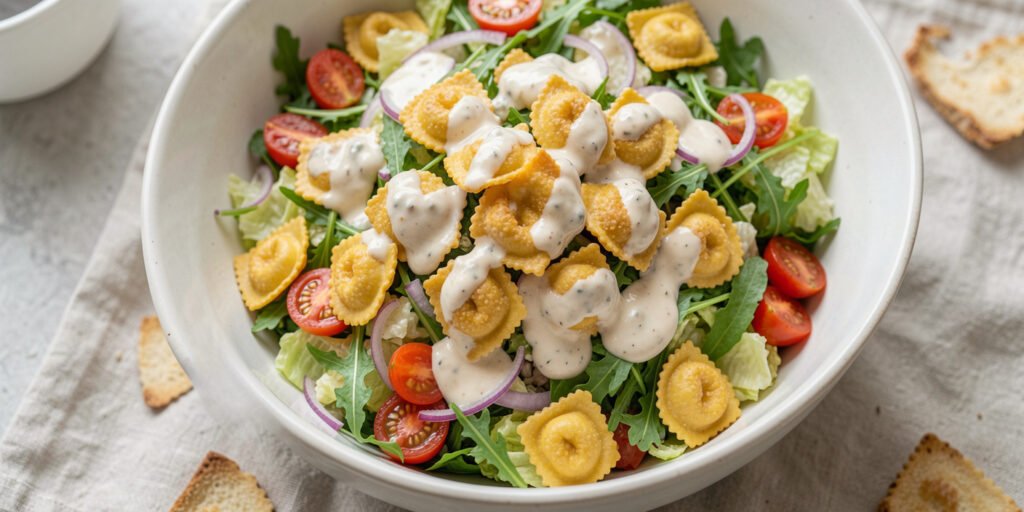
Regular croutons go soft the second they touch dressing. This salad swaps them out for something that doesn’t. Crunchy air fryer tortellini salad is a fresh green salad topped with cheese tortellini that’s been pan-tossed in olive oil and parmesan, then air-fried until golden and crisp, finished with a creamy parmesan dressing. The tortellini keeps its crunch far longer than bread ever could, because it’s not just crispy on the surface — it’s got a warm, chewy, cheese-filled center holding it together.
It’s a dish that reads like a meal-prep hack and eats like a restaurant starter. Here’s the full method, the dressing that makes it work, and what to do differently if you’re making it ahead.
Why Air-Fried Tortellini Beats Regular Croutons
Croutons are just bread — once they hit a creamy dressing, they start softening within minutes. Cheese tortellini works differently. The pasta shell crisps up in the air fryer while the cheese filling inside stays soft, so you get a genuinely different bite: crunchy on the outside, warm and gooey in the center, rather than just “crunchy, then nothing.” That contrast is why air-fried tortellini has become a popular crouton substitute across recipe sites recently — it’s not a gimmick, it’s a real textural upgrade.
The other advantage is size. A tortellini “crouton” is bigger and heartier than a bread cube, so this salad eats more like a light meal than a side dish — good for a fast dinner, not just a starter.
How do you make crunchy tortellini salad in an air fryer? Par-cook refrigerated cheese tortellini, toss with olive oil and grated parmesan, then air fry at 200°C (400°F) for 10–12 minutes, shaking once, until golden and crisp. Toss with chopped lettuce, arugula, tomatoes, and red onion, then finish with a creamy parmesan dressing and the warm tortellini on top.
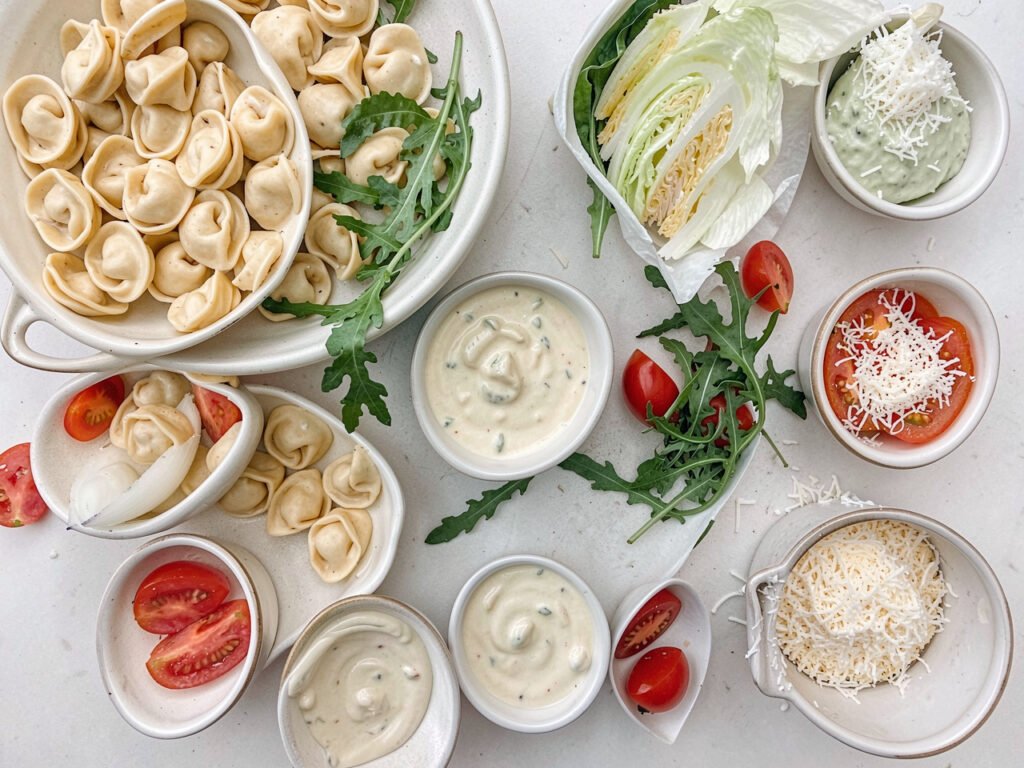
Ingredients
For the crispy tortellini:
- 1 package refrigerated cheese tortellini
- 1–2 tbsp olive oil
- 3–4 tbsp grated parmesan
For the salad:
- 1 head iceberg lettuce, chopped
- 2 cups arugula
- 1 cup cherry tomatoes, halved
- ½ small red onion, very finely diced
- 2 tbsp fresh parsley, chopped
For the creamy parmesan dressing:
- ¼ cup plain yogurt
- ¼ cup sour cream
- 3 tbsp mayonnaise
- 3 tbsp finely grated parmesan
- 1 tbsp olive oil
- 1 tsp vinegar (white wine or apple cider)
- ½ tsp garlic powder
- ½ tsp onion powder
- Salt and pepper, to taste
- 1 tbsp fresh parsley, chopped
Ingredient notes: Use refrigerated tortellini from the chilled case, not dried or frozen — it crisps far better in an air fryer. Iceberg and arugula together give you crunch (iceberg) plus a peppery bite (arugula), which stands up better to a creamy dressing than a single soft lettuce would. The yogurt-sour cream-mayo combination in the dressing is what gives it a tangy, restaurant-style creaminess rather than tasting flat like a single-ingredient dressing.
Step-by-Step Instructions
- Par-cook the tortellini. Bring a pot of water to a boil and cook the tortellini for 3–4 minutes — slightly underdone, since it will finish cooking in the air fryer. Drain well and pat dry; excess water stops it from crisping.
- Coat before air frying. Transfer the tortellini to a bowl, toss with olive oil, then add the parmesan and toss again until evenly coated.
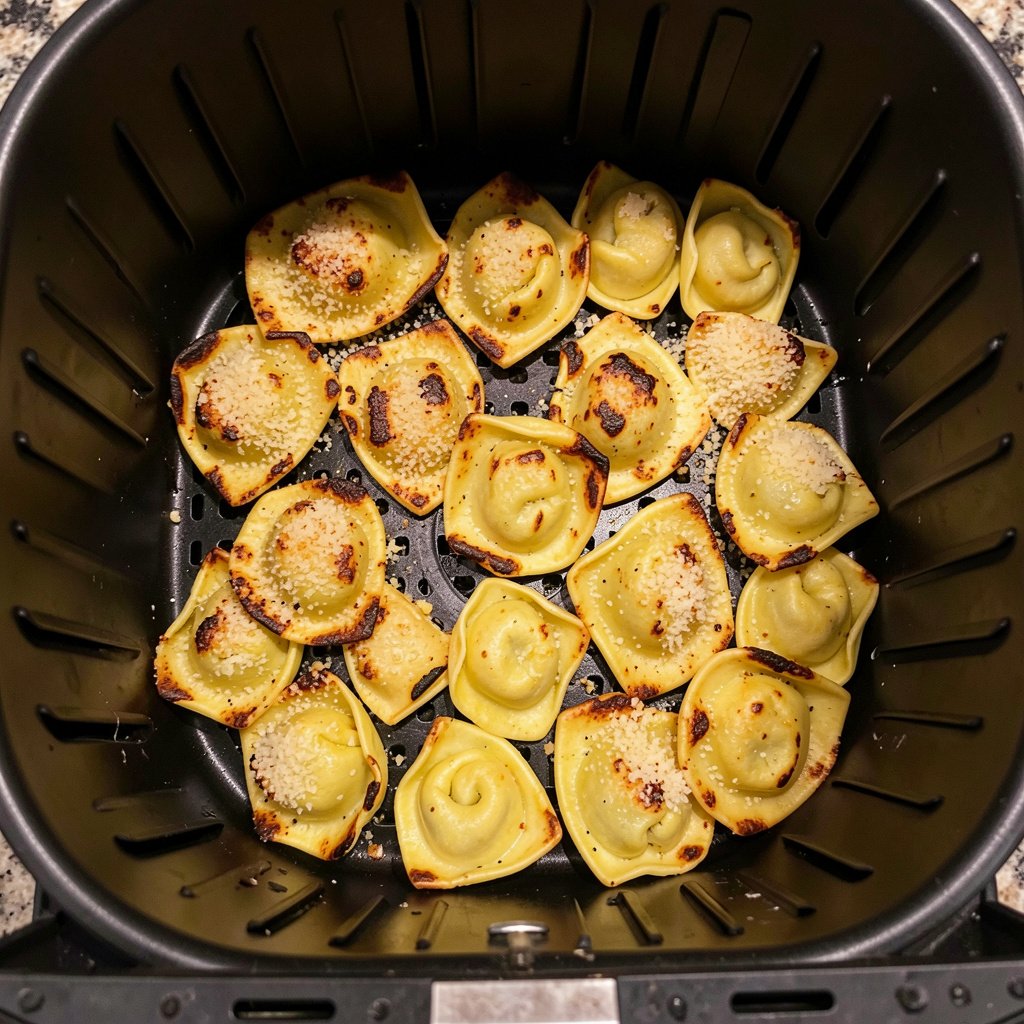
- Air fry. Spread the tortellini in a single layer in the air fryer basket — don’t overcrowd it, or it will steam instead of crisp. Cook at 200°C (400°F) for 10–12 minutes, shaking the basket halfway through, until golden brown and crunchy.
- Build the salad base. While the tortellini cooks, combine the chopped iceberg, arugula, halved cherry tomatoes, diced red onion, and parsley in a large bowl.
- Make the dressing. Whisk together the yogurt, sour cream, mayonnaise, parmesan, olive oil, vinegar, garlic powder, onion powder, salt, pepper, and parsley until smooth.
- Dress the salad. Pour the dressing over the salad base and toss until everything is evenly coated.
- Top and serve. Scatter the hot, crispy tortellini over the top right before serving, so it hits the table while it’s still crunchy.
Getting the Crunch Right
- Don’t skip the pat-dry step. Wet tortellini steams instead of crisping in the air fryer — a few minutes on a paper towel after draining makes a real difference.
- Don’t crowd the basket. Cook in two batches if your air fryer is small; a single layer with space around each piece is what gets you an even, crisp shell.
- Shake, don’t stir. Shaking the basket keeps the parmesan coating intact; stirring with a utensil can knock it off.
- Top the salad last. Add the tortellini right before serving, not while you’re still prepping — it starts softening the moment it touches the dressing.
Storage and Meal Prep
This salad is genuinely meal-prep friendly if you keep the components separate, which is the opposite of most creamy pasta salads.
- Salad base and dressing: Store separately in airtight containers in the fridge for up to 3 days. Combine just before eating.
- Tortellini: Store in a separate container in the fridge for up to 2–3 days.
- Re-crisping: If the tortellini has softened, pop it back in the air fryer at 180°C (350°F) for 2–3 minutes to bring the crunch back before adding it to the salad.
Don’t assemble the full salad ahead of time — once the dressing, greens, and tortellini are combined, it doesn’t hold well past the meal you’re serving it for.
Easy Variations
- Protein boost: Add grilled chicken or crispy bacon for a heartier, main-dish version.
- Swap the greens: Baby spinach or romaine work in place of iceberg if you prefer a softer bite.
- Different tortellini filling: Spinach, mushroom, or three-cheese tortellini all crisp the same way as classic cheese.
- Lighter dressing: Replace the mayonnaise with extra yogurt for a lower-fat version — it’ll be slightly less rich but still creamy.
- Add crunch elsewhere too: Toasted pine nuts or sunflower seeds work well scattered over the top alongside the tortellini.
Key Takeaways
- Crunchy air fryer tortellini salad uses crispy tortellini instead of croutons for a bigger, longer-lasting crunch.
- Par-boil the tortellini for 3–4 minutes before air frying — going in raw risks a tough, dry shell.
- Air fry at 200°C (400°F) for 10–12 minutes, shaking halfway, in a single uncrowded layer.
- Store the tortellini, dressing, and salad base separately for meal prep; combine just before eating.
- Add the tortellini to the salad only right before serving to keep it crisp.
FAQ
Can you air fry tortellini without boiling it first?
It’s not recommended. Raw refrigerated tortellini needs a quick 3–4 minute par-boil first; going straight into the air fryer without it tends to leave the pasta shell tough and the filling undercooked, rather than soft and warm inside.
What temperature and time should I use for the tortellini?
200°C (400°F) for 10–12 minutes, shaking the basket halfway through, is the standard timing. Check a couple of minutes early the first time you make it, since air fryer models vary.
Can I make this salad ahead of time?
You can prep the components ahead — salad base, dressing, and cooked tortellini stored separately — but don’t combine them until just before serving, since the tortellini softens once dressed and the greens wilt over time.
What can I use instead of the yogurt-sour cream-mayo dressing?
A store-bought ranch or Caesar dressing works as a shortcut, though the homemade version has a tangier, more balanced flavor that holds up better against the rich, crispy tortellini.
Can I use frozen tortellini instead of refrigerated?
Yes, but adjust the boil time slightly longer per the package instructions, since frozen tortellini takes a bit more time to cook through than refrigerated.
How do I keep the tortellini crispy if I’m not serving it right away?
Store it separately from the salad and dressing, then re-crisp it in the air fryer at 180°C (350°F) for 2–3 minutes right before serving.